A Pseudo-Best-Practices Guide to Weex for iOS Developers
Introduction
This article shares some of my recent research and practical experience with Weex on iOS, and also serves as a summary of what I’ve learned. The approaches mentioned here may not be best practices, and the methods may not qualify as a standard guidebook, so I had to title it a “pseudo best-practices guide.” If you have better approaches, feel free to leave comments so we can discuss and learn together.
Since I don’t know much about Android, the following content will not cover Android.
1. React Native and Weex
Since the day Weex was born, it has been destined to be compared with React Native. React Native claims “Learn once, write anywhere,” while Weex claims “Write Once, Run Everywhere.” From the very beginning, Weex was expected to unify the three platforms. React Native supports iOS and Android, while Weex supports iOS, Android, and HTML5.
On the Native side, the biggest difference between the two may be whether the JSBundle is split. Official React Native only allows the core React Native JS libraries and business JS to be bundled together into a single JS bundle, and does not provide bundle-splitting capabilities. So if you want to save bandwidth, you have to build your own bundle-splitting tool. By default, the JS bundle generated by Weex contains only business JS code, so it is much smaller. The core JS libraries are included in the Weex SDK. In this regard, compared with Facebook’s React Native and Microsoft’s Cordova, Weex is more lightweight and compact.
On the JS side, Weex is also referred to as Vue Native, so the difference between React Native and Weex comes down to the difference between React and Vue.

I haven’t written React Native myself, so I can’t make an objective comparison between the two. However, there is a very good comparison article on Zhihu about Weex and React Native: “Comparison of weex & React Native”. I recommend reading it.
A couple of days ago, @Allen Xu Shuai also published an article on the Glow Tech Team Blog: “React Native in Practice at Glow”. This article also discusses many points related to React Native practice, and I highly recommend reading it as well.
2. Getting Started
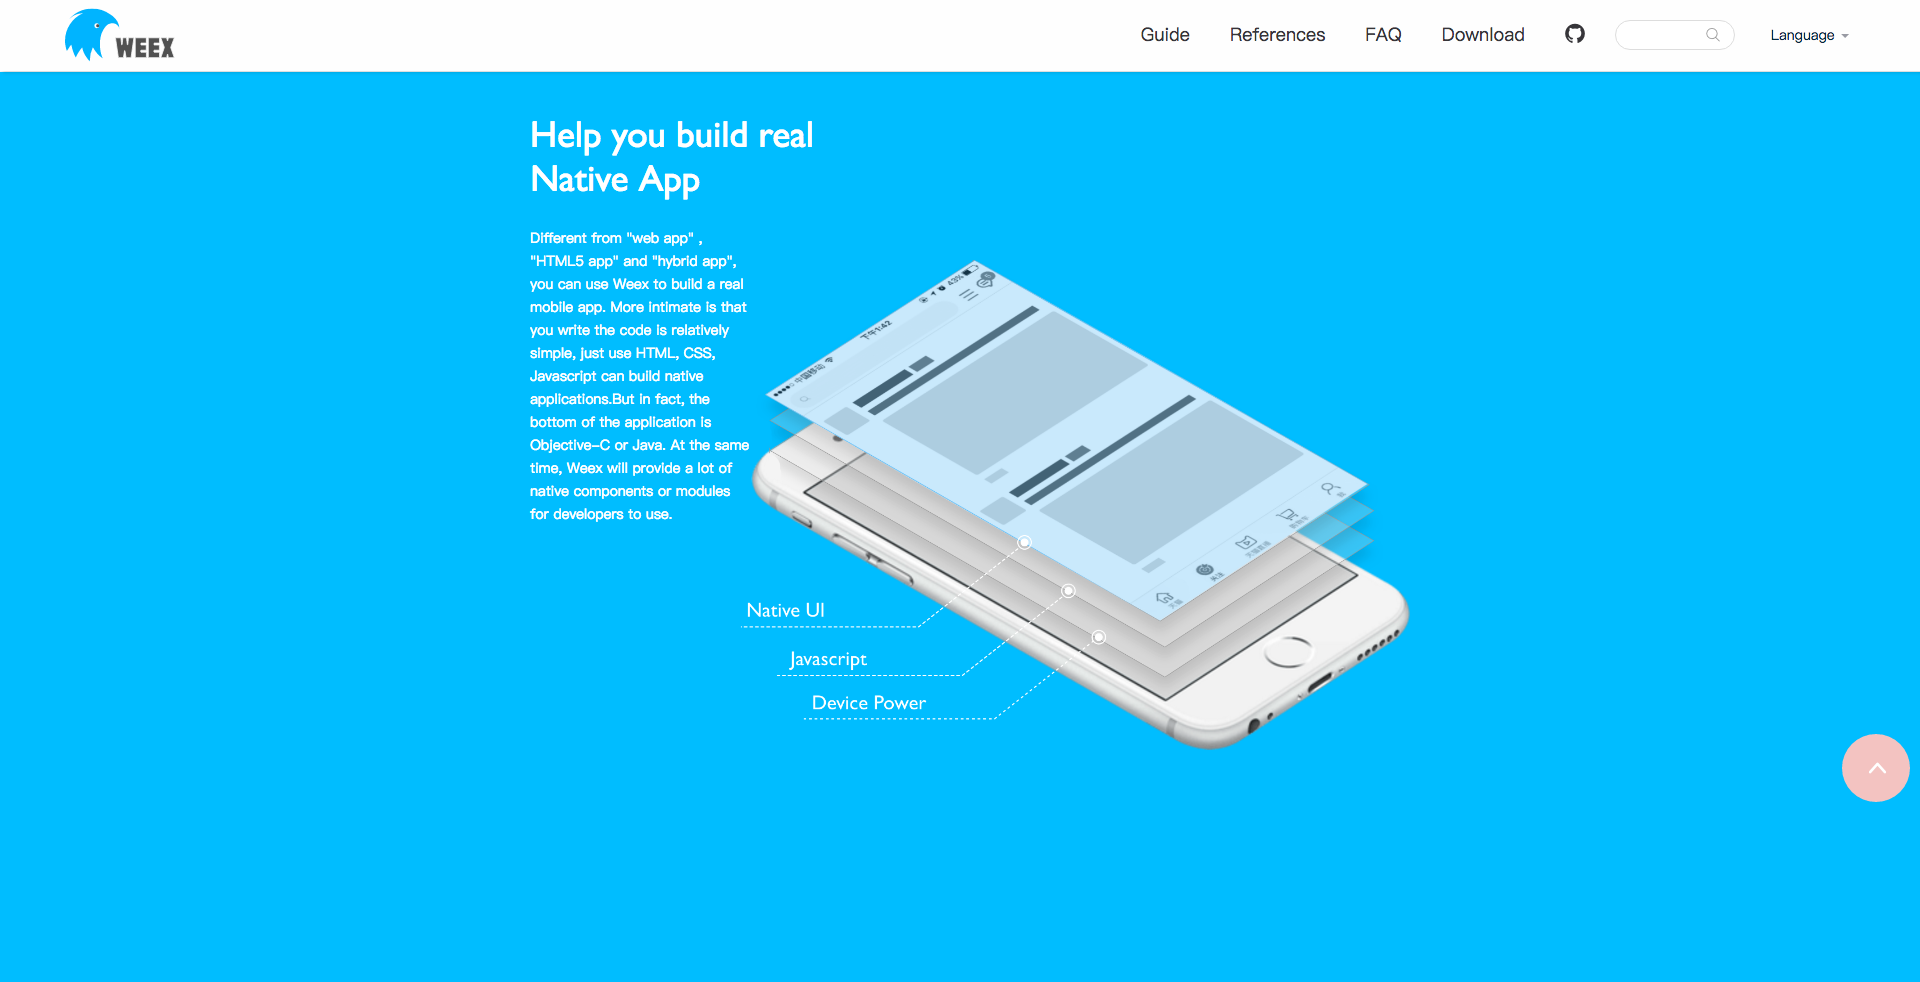
For beginners who want to get started with Weex, the most basic thing is of course to read through the documentation. The documentation is the best official learning material. There are two sets of official basic docs:
Tutorial Documentation
Reference Documentation
The reference manual contains all currently available Weex components and modules, as well as the usage and properties of each component and module. When you run into problems, you can check there first. It’s quite possible that some components or modules simply don’t have the properties you are looking for.
1. The Weex Toolchain and Scaffolding
After reading the official documentation, you can start building a project.
My company has written four articles on Zhihu about the “Weex Getting Started Guide”. These four articles are well worth reading.
Like front-end projects, Weex has its own scaffolding toolchain: weex-toolkit + weexpack + playground + code snippets + weex-devtool.
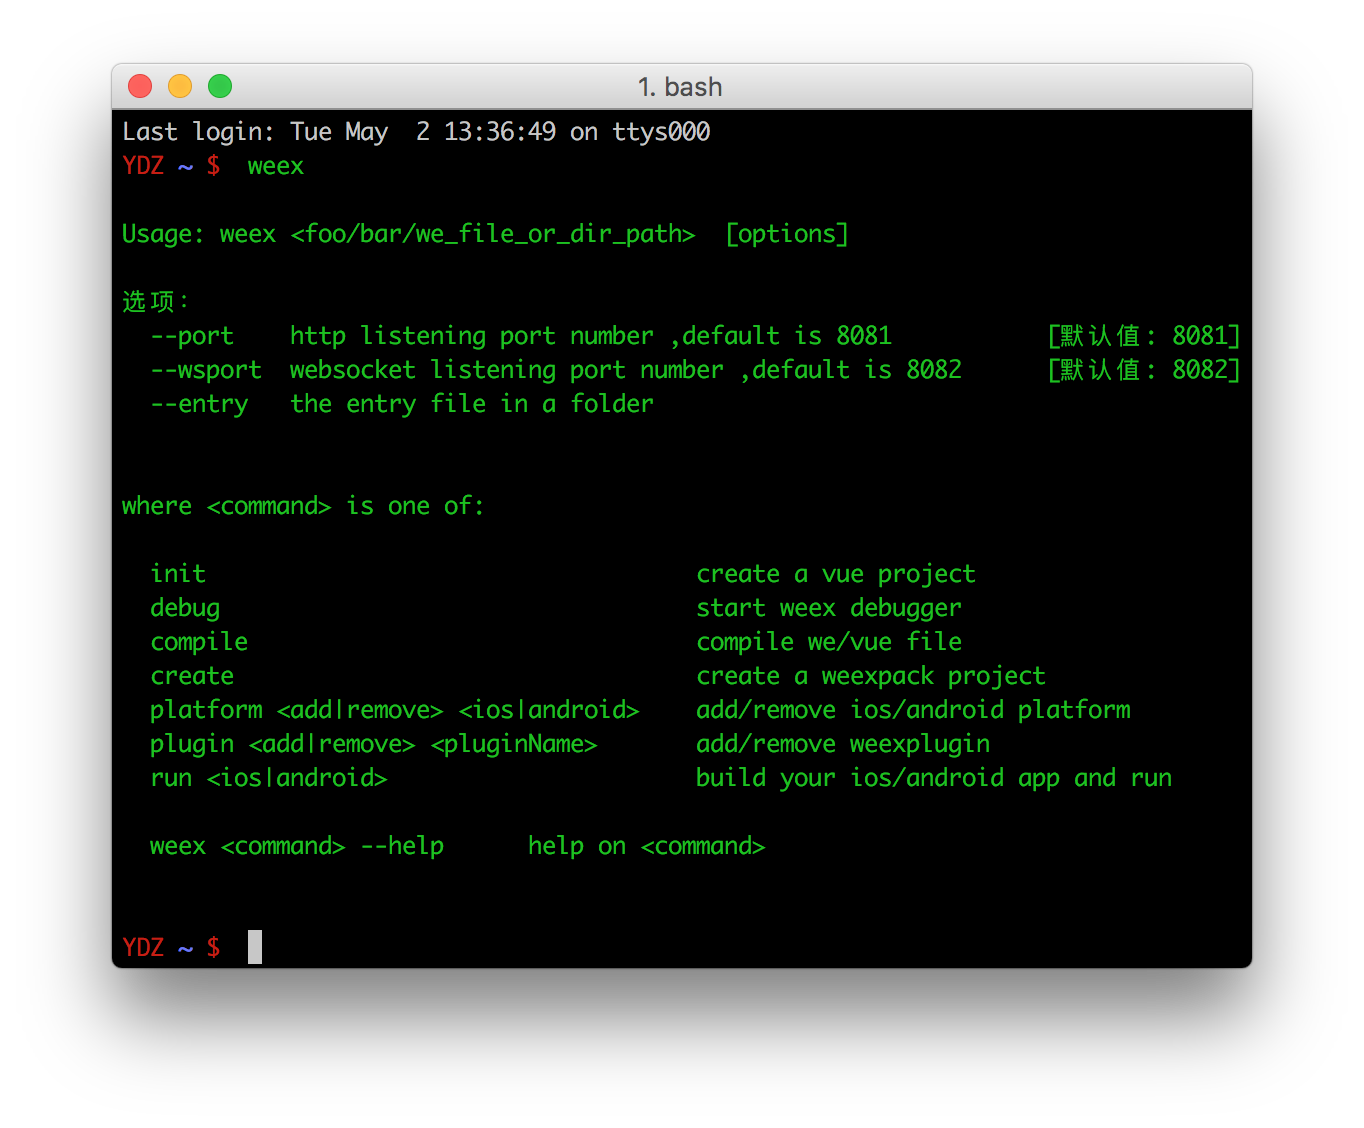
weex-toolkit is used to initialize projects, compile, run, and debug with all related tools.
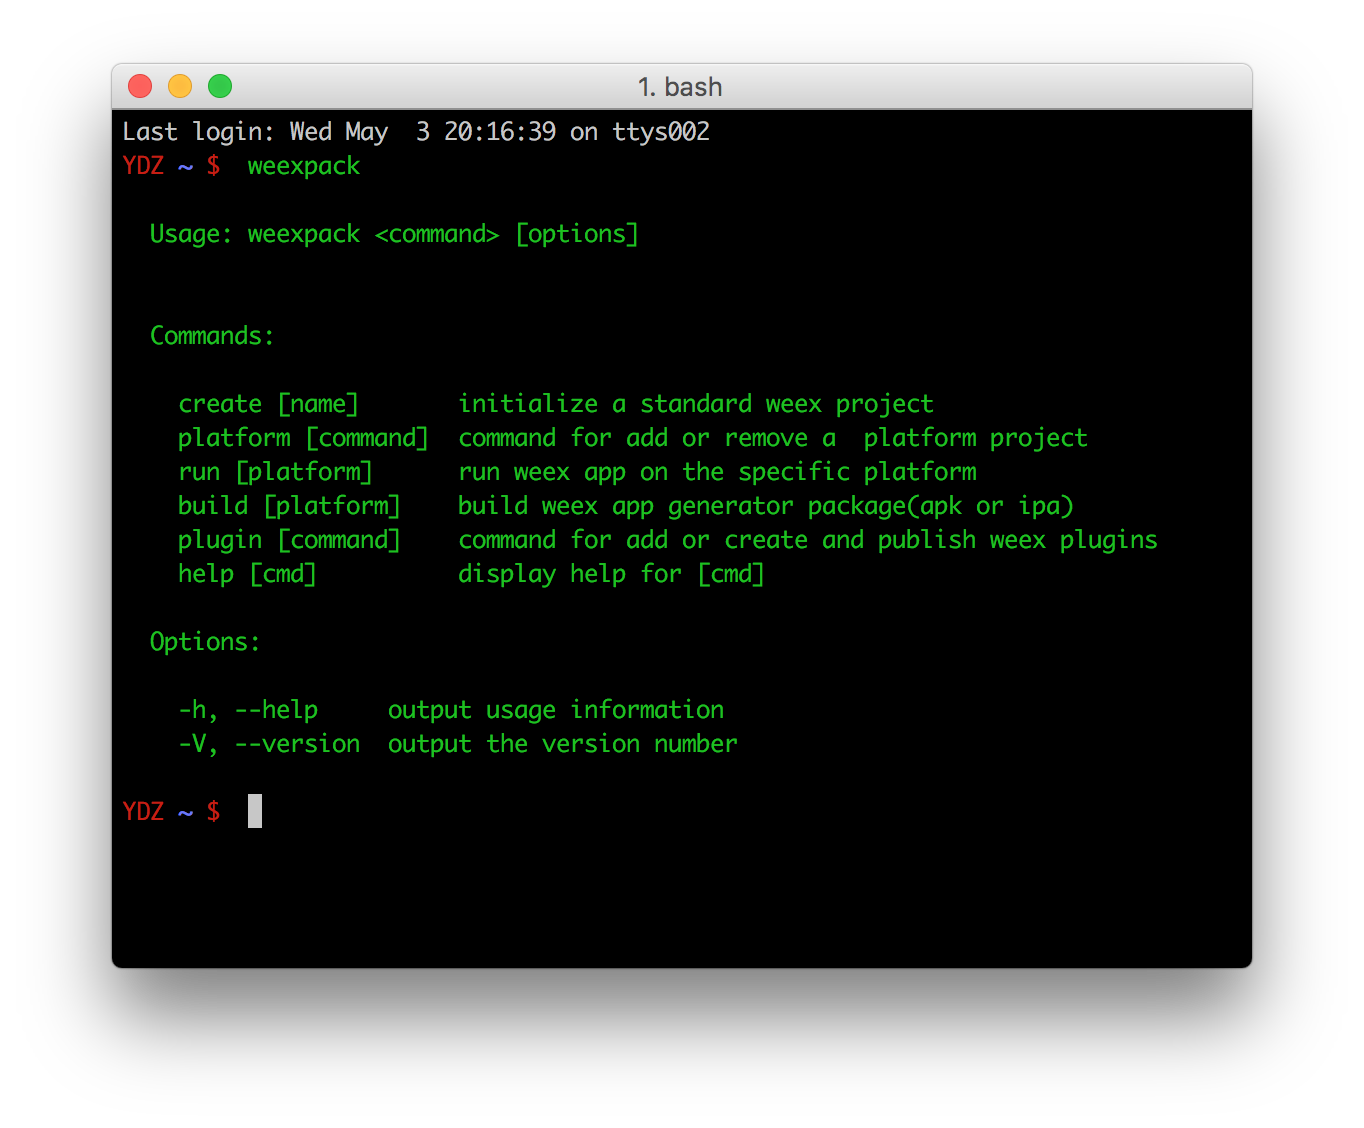
weexpack is used to package JSBundle files. In practice, it is also a wrapper around Webpack.
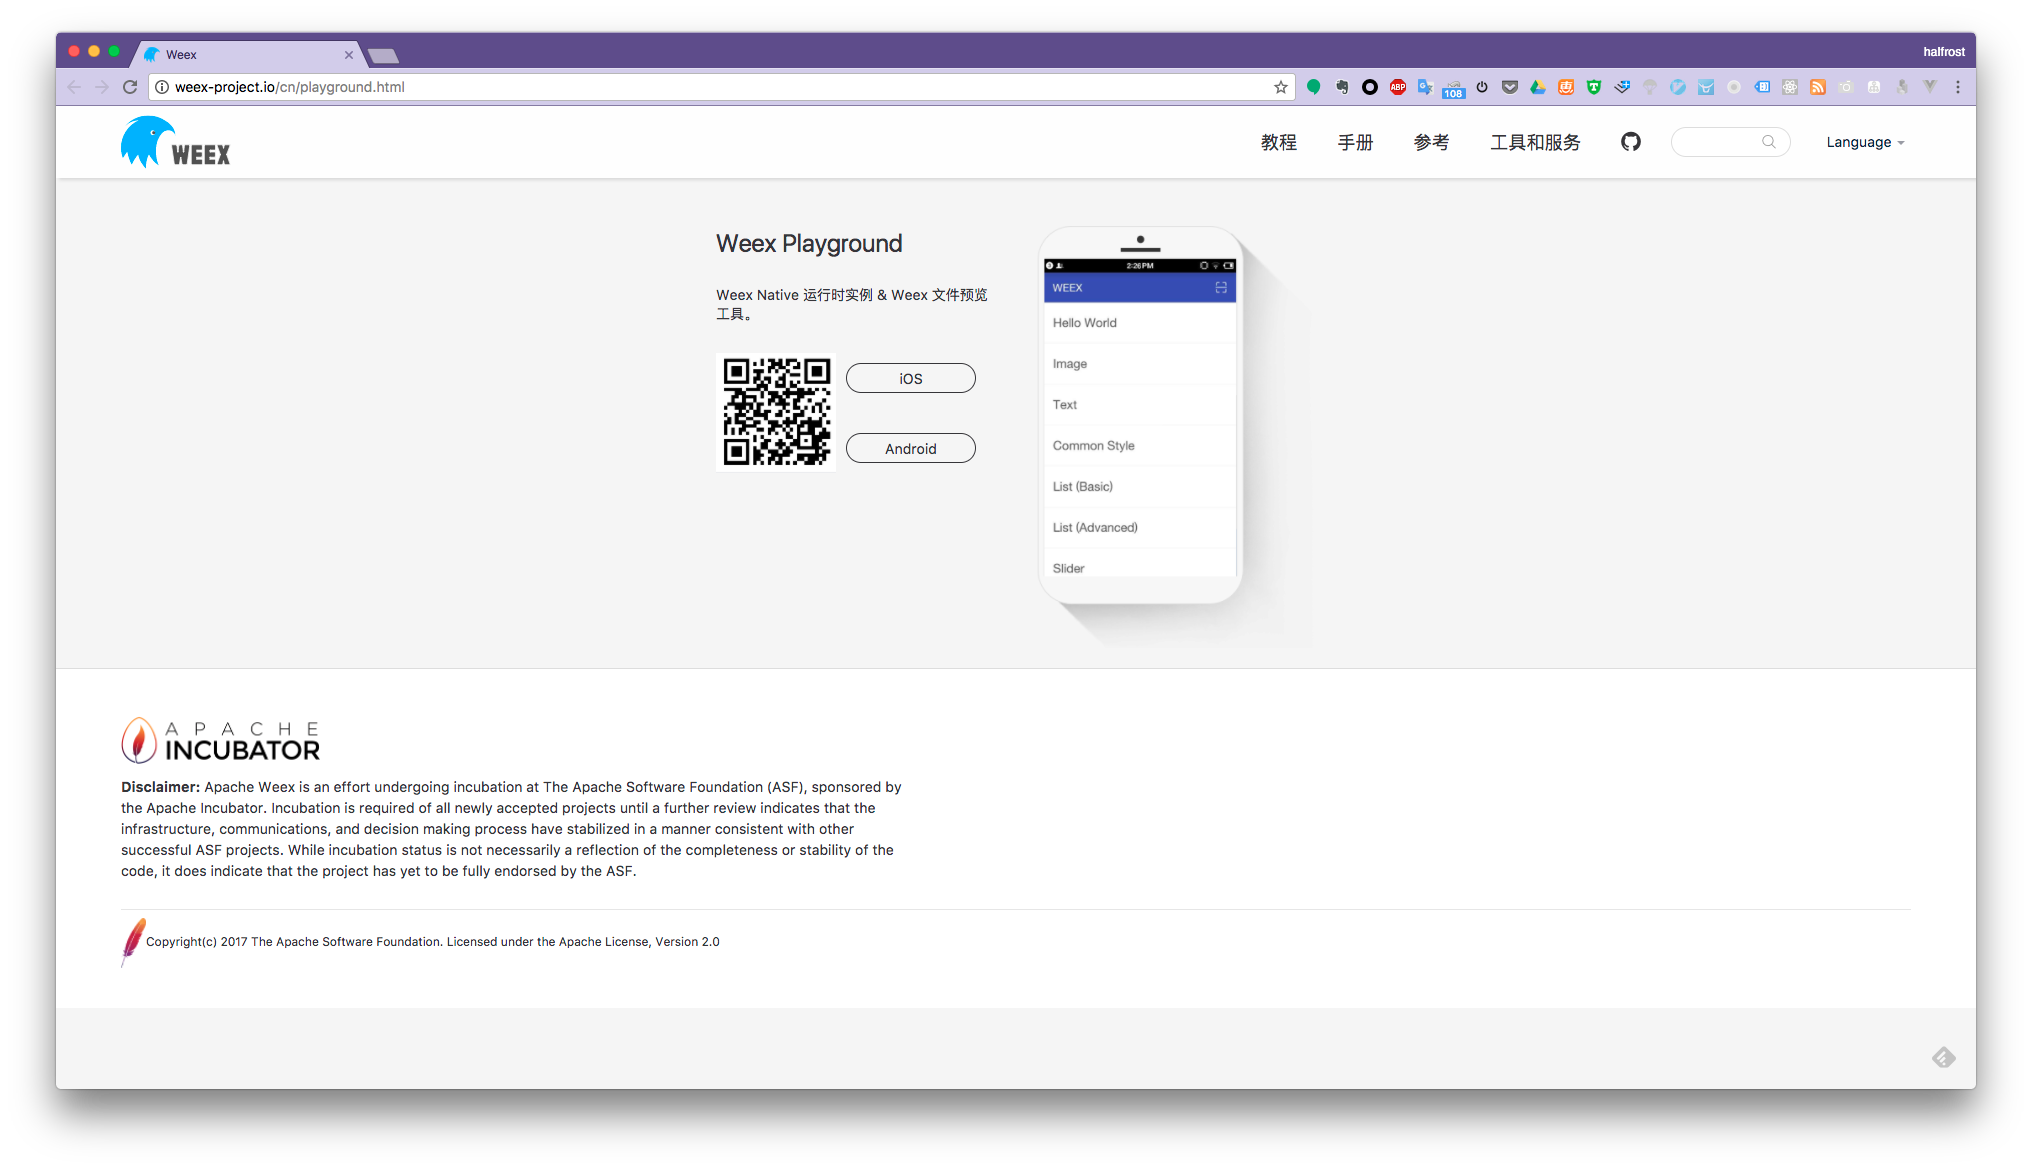
playground is a published app that can display the actual page on a phone in real time by scanning a QR code.
code snippets is an online playground.
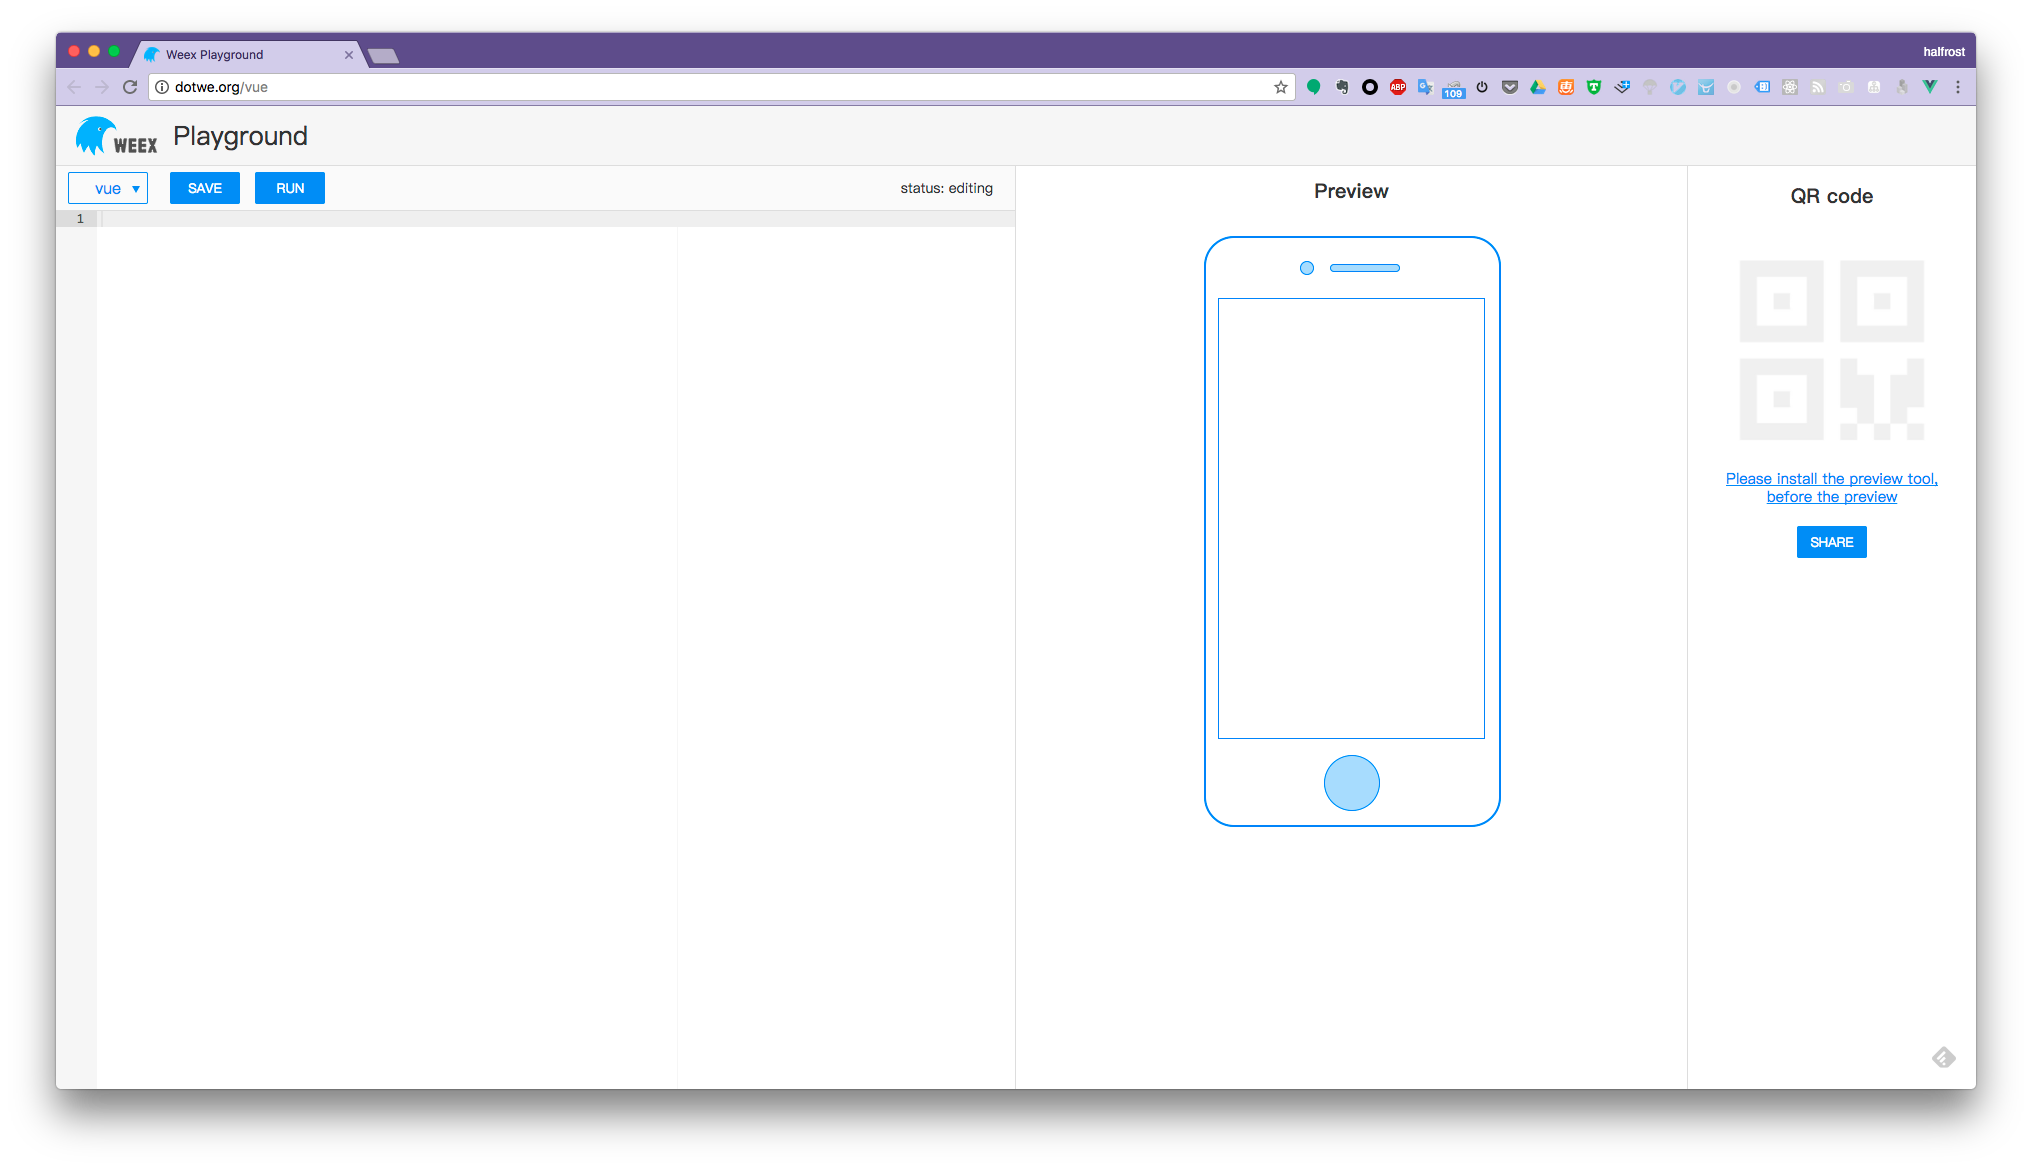
I believe most of you should already have a Native app. If you really don’t even have an app, use the weexpack command to initialize a new project. If you already have an app project, then the weex command is only used for running and debugging.
If you already have an iOS project, you can install the Weex SDK directly via CocoaPods. After initializing the SDK, Native code can use Weex. Change the URL of the loaded JS to your company server’s IP.
#define CURRENT_IP @"your computer device ip"
// ...

// Change the port number to yours

#define DEMO_URL(path) [NSString stringWithFormat:@"http://%@:8080/%s", DEMO_HOST, #path]

// Change the JS file path

#define HOME_URL [NSString stringWithFormat:@"http://%@:8080/app.weex.js", DEMO_HOST]
At this point, the entire project should be able to run.
One more thing to note: although the project is now running, every time you run it, you need to start npm and bring up the Weex frontend environment. There are two ways to handle this.
The first approach is to hook directly into Xcode’s run command and add a script in the Xcode configuration to start npm. For example:
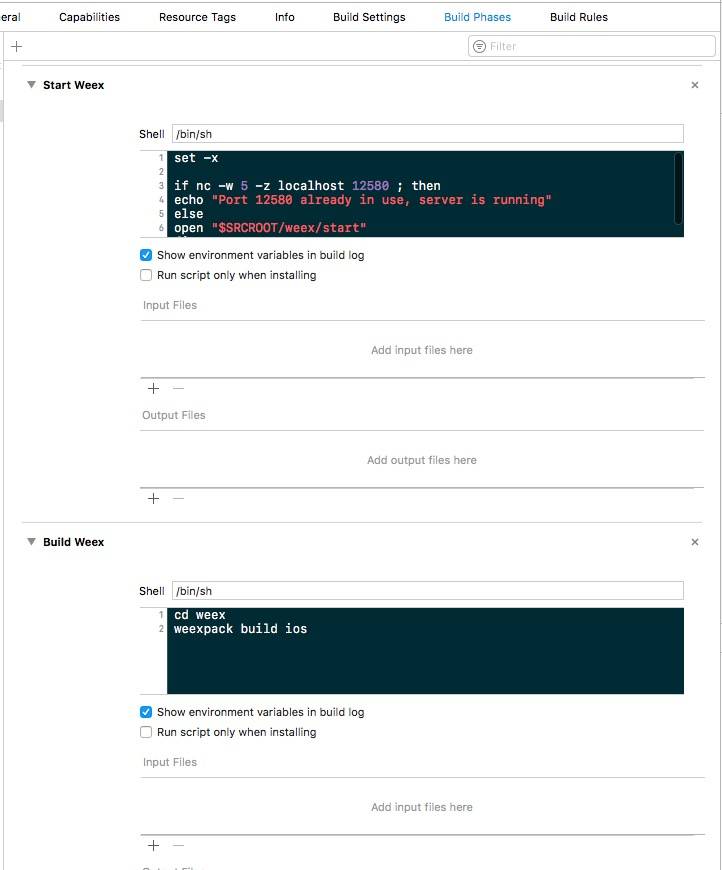
The second approach is to manually run npm run dev before each run. Personally, I prefer this approach, because before Xcode finishes launching, you can definitely finish typing these commands in the terminal.
Next, let’s talk about debugging. This part uses weex-devtool.
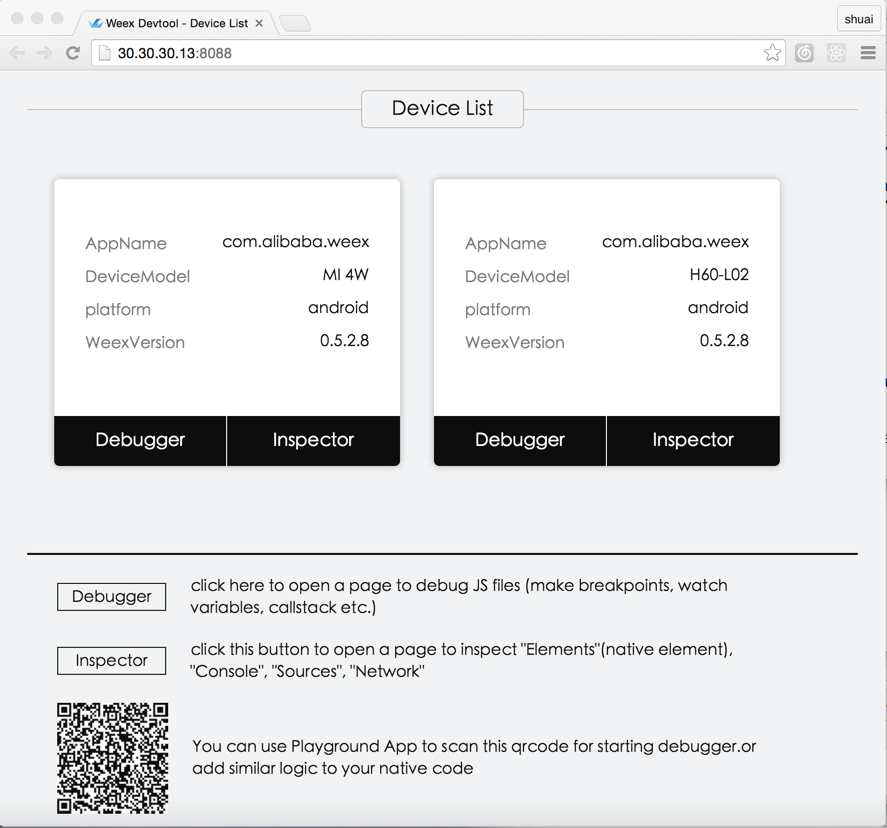
The experience of using this tool is basically the same as debugging frontend code in Chrome.
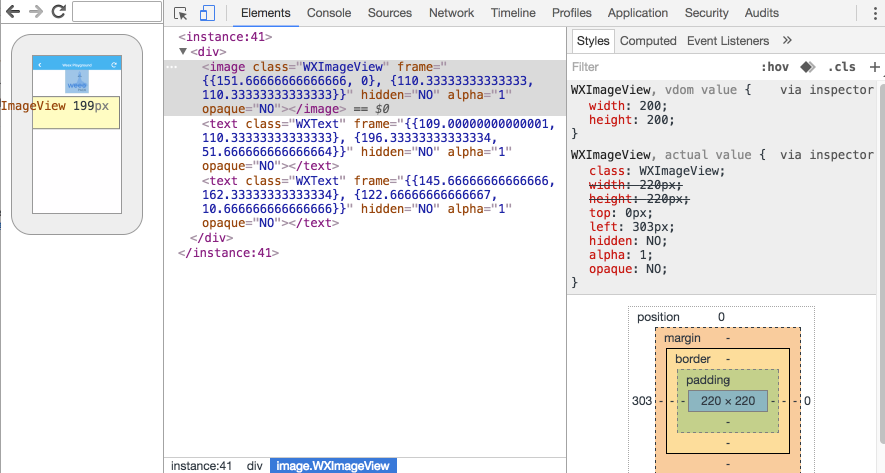
For the specific usage, just refer to these two articles; I won’t go into detail here:
“Weex Getting Started Guide: Debugging Is a Craft”
“Weex Debugging Tool — Weex Devtools User Manual”
2. Weex Market Plugin
In day-to-day development, we can build all Weex screens ourselves from scratch, but of course we can also use some excellent existing wheels. All of the best Weex wheels are available in Weex Market.
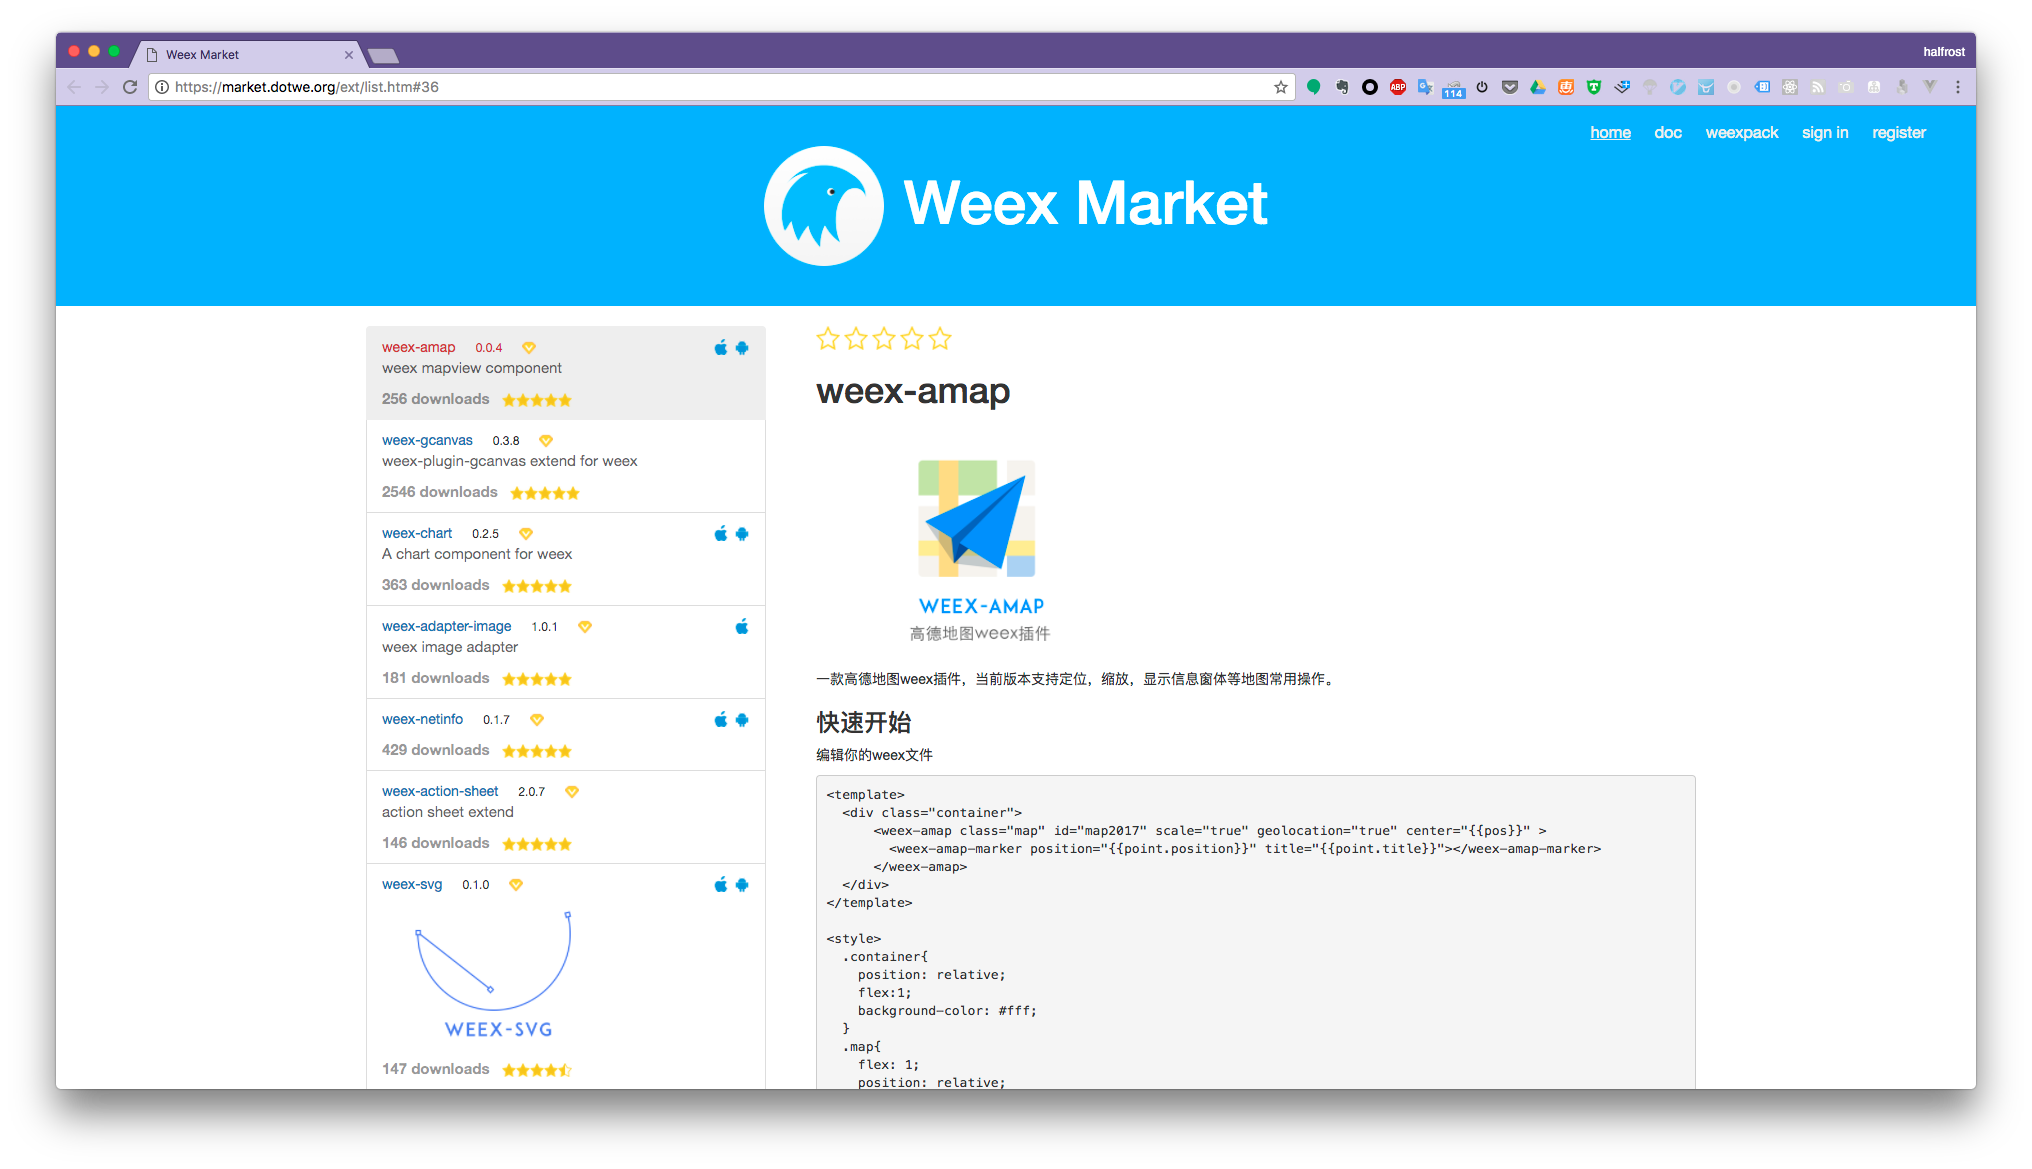
There are many ready-made wheels in this Market that you can use directly, which can save a lot of time.
For example, the very popular weex-chart. The weex-chart charting plugin is implemented through g2-mobile, which depends on the gcanvas plugin.
If you want to use Plugin plugins from Weex Market, you can use the weex plugin command:
$ weex plugin add plugin_name
You only need to enter the plugin name to add the plugin from a remote source to your local project. For example, to add weex-chart, you can run:
$ weex plugin add weex-chart
We can use plugin remove to remove a plugin, for example, to remove the installed weex-cahrt:
$ weex plugin remove weex-chart
I’ve used weex-router from this plugin library, and it’s pretty good for managing Weex routing. Recommended.
3. iOS Packaging and Release
The official Weex toolchain provides the weexpack command. I think this command is intended for frontend developers who don’t understand iOS. If a Native developer is doing the packaging, you still use Xcode’s Archive workflow.
Frontend developers who know nothing about iOS can use weexpack build ios to package the app. During the process, it will ask for information such as certificates and developer account details. Once everything is entered correctly, it can generate an ipa file. The whole process is very straightforward. If you’re not sure how it works, refer to the official manual:
weexpack official manual “How to Create a Weex Project and Build an App with weexpack”
If you’re an iOS developer, keep packaging the app the same way as before. The only difference is that the JS part needs to be packaged separately. My recommendation is to manage the Weex part in a separate git branch, and specifically run weexpack or Webpack packaging against that branch. The concrete webpack configuration should be handled by each company according to its own needs.
One extra point here, which I also learned from a frontend expert: after webpack finishes packaging, you can use webpack’s official website to inspect exactly which files and dependencies were bundled into the package. Although I usually just package everything in one go, experienced frontend developers may still check whether any unnecessary files were included. They will try to minimize the package size as much as possible, and avoid including even an extra 1 KB file.
Now let’s talk about release. After adopting Weex, every release will accumulate and fix all hotPatch updates from the previous version into the current version, and directly bundle the latest JSBundle file into the new version. The purpose of bundling JS is also to make the first screen load instantly.
4. Hot Updates
Everyone understands the role of hot updates; otherwise, much of the value of using Weex would be lost. But there is another point to explain here—the hot update strategy.
During daily development, when we debug on a phone connected from the browser, it is not actually refreshed in real time. (However, by scanning a QR code on the phone, and making sure the phone and computer are on the same LAN, real-time updates can be achieved.)
So in a real production environment, the hot update strategy should be: when there is a new HotPatch, distribute it to the client. Then, the next time the client starts, it first compares version information. If it is a new version, it loads the latest HotPatch and renders it on screen.
I once imagined doing real-time online updates: as soon as something is released online, all users who are connected to the network receive the HotPatch, and after the download completes, it is loaded immediately. Networked users could then get hot updates within seconds. This is technically feasible, but not very meaningful. The approach would be to maintain a dedicated Websocket connection directly to the server; after distribution completes, Native notifications can be invoked, and the Native client can refresh the page by itself. (There probably aren’t many companies doing this right now, are there?)
5. JSBundle Version Management and Deployment
JSBundle version management should be handed over to the frontend team. The frontend team may use version numbers to manage the versions of different packages. Deployment also involves each company’s frontend deployment process, which they understand better. Deployment is generally also placed on a CDN for acceleration.
6. Pitfalls and How to Avoid Them
It would be impossible to say that Weex has no pitfalls at all.
For example, when continuously pushing certain screens, some lines may sweep across the edge of the page. Also, when capturing JS errors or exceptions, Weex cannot reliably catch exceptions. This needs to be handled by Native; after Native catches the exception, it can then pass an event to the JS Runtime for handling.
Calculating page width and height is the point that requires the most attention. Weex uses 750 as the standard for UI adaptation, so you need to convert based on 750. Another point is that Weex performs rounding internally, which causes a small loss of precision. For details, see the source-code analysis in “Things About Weex Event Passing”.
The Weex JS engine also does not support HTML DOM APIs and HTML5 JS APIs, including document, setTimeout, and so on.
Weex’s implementation of Web standards has not yet reached 100%, so if you write Weex with Vue, some things are not supported.
For example, some CSS styles are unsupported. The most surprising part is that it does not support <br>, nor does it support <form>, <table>, <tr>, or <td>. It does not support CSS percentage units, nor other standard CSS length units such as em, rem, and pt. It also does not support hsl(), hsla(), currentColor, or 8-character hexadecimal colors.
Weex also does not fully support the W3C FlexBox specification. It currently does not support inline, nor changes along the Z axis, although on mobile there really isn’t much demand for the Z axis. Weex’s Layout uses a previous version of Yoga. The way to solve this is also relatively direct: upgrade to the latest version of Yoga later, and more Flex standards can then be supported.
For more unsupported features, you need to read the documentation more thoroughly, such as “Which Web Standards Are Currently Unsupported by Weex”. It’s best to read these first and have a general idea, so you don’t run into inexplicable bugs during development without realizing that they are ultimately caused by lack of support.
There are also some components that temporarily do not support synchronous methods. This is because Vue 2.0 does not support them yet; the official expectation is to support them in version 0.12.
One additional reminder: because Apple cracked down on JSPatch some time ago, the Weex team issued a warning about custom modules:
All built-in module or component APIs that Weex exposes to JS are safe and controllable. They do not access system private APIs, do not perform any runtime hacks, and do not change the original functional positioning of the application.
If you need to extend custom modules or components, be careful not to expose the OC runtime to JS. Do not expose dynamic and uncontrollable methods such as dlopen(), dlsym(), respondsToSelector:, performSelector:, and method_exchangeImplementations() to JS, and do not expose system private APIs to JS.
The warning above specifically emphasizes not using the functions dlopen(), dlsym(), respondsToSelector:, performSelector:, and method_exchangeImplementations(). This is also why, even though people are all using Weex, some apps fail review while others pass.
I’ve heard that Android has some bugs around Refresh Control. I haven’t looked much into Weex’s behavior on Android, but if this issue appeared on iOS, I think you could directly replace that part with Native. Wherever there are bugs, implement those parts natively.
In short, Weex still has more or less some issues. But based on current usage, they do not block adoption. As long as you know how to adapt flexibly, when you run into a roadblock that really cannot be crossed, or a bug that you genuinely cannot handle for the moment, consider replacing that part with native implementation.
III. More Advanced Usage
Next, let’s talk about some slightly more advanced usage. Even if you do not implement the following, it will not affect a normal Weex launch.
1. Page Fallback
Weex supports page fallback by default. For example, when an error occurs, it can fall back to H5. Here I recommend adding an online switch. In our company, we handle page fallback with two levels of switches:
- App-level switch. This switch controls whether the user’s App uses the Weex SDK, and it can be configured online.
- Page-level switch. This switch controls whether a specific page enables Weex. If it is not enabled, the page falls back to an H5 page.
In addition to fallback, we also apply a grayscale/canary strategy to ensure online bugs are minimized.
For example, enable the switch for canary release during low-traffic periods. Another level of canary control is handled through an online real-time error monitoring platform. If the Crash rate suddenly spikes due to an incident, immediately disable the Weex switch and perform fallback handling right away.
2. Performance Monitoring and Instrumentation
In the official Demo provided by Weex, there is a small floating M dot. Tapping it opens the following screen:
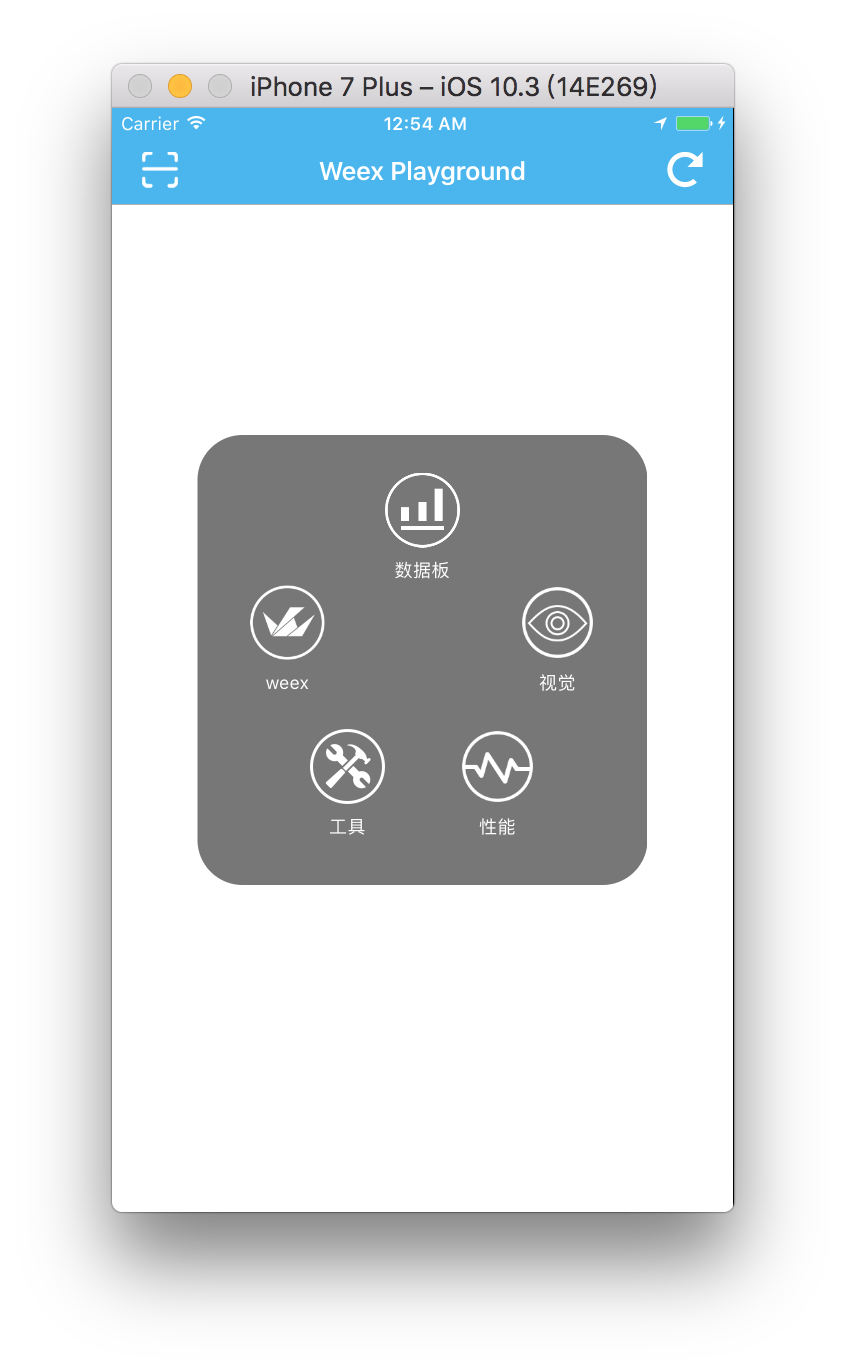
Here, we tap the performance button:
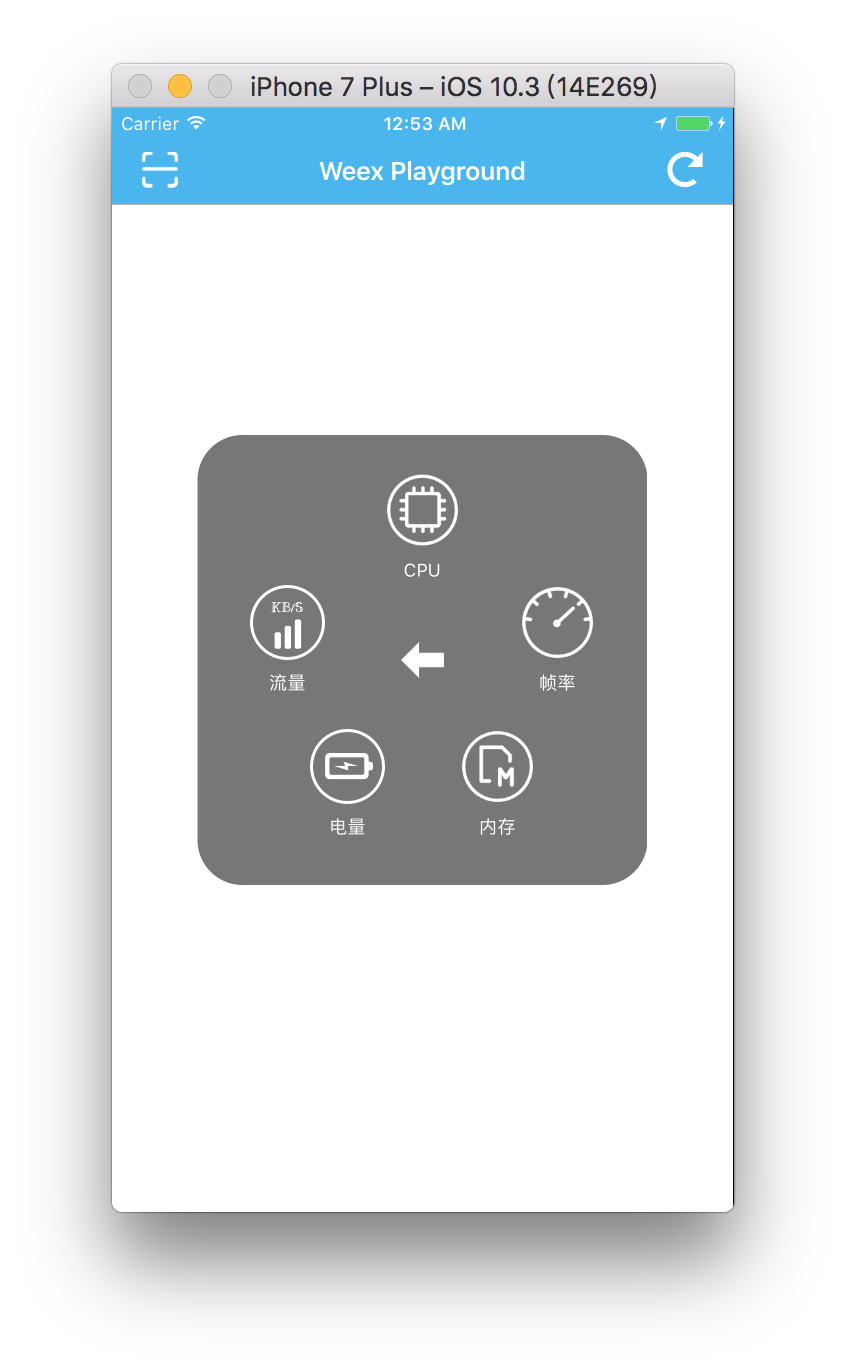
Here we can see monitoring data such as CPU, frame rate, memory, battery, and traffic. These are also common metrics we monitor in Native APM. Of course, this M dot is not open sourced. So each company needs to build its own monitoring system. This part may already have been done by each company’s frontend team, so Weex needs to be integrated into the frontend performance monitoring system.
If we open the tools screen again, we will see the following options:
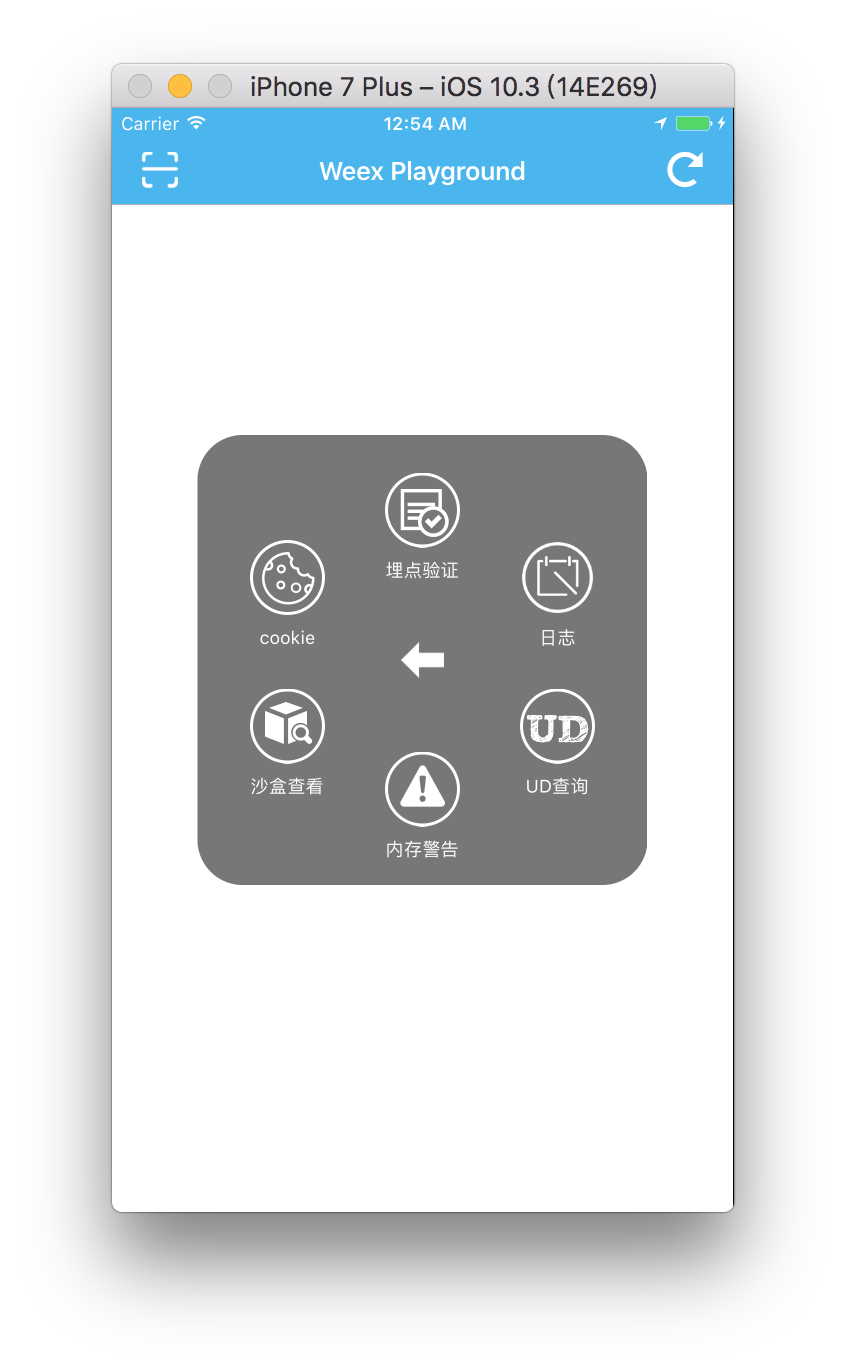
Here there is instrumentation monitoring. In the early stage, Weex instrumentation may still be done by Native, because every company already has its own complete Native instrumentation system. Later, instrumentation can also be handed over to the frontend and implemented on the frontend side.
3. Incremental Updates and Full Updates
For now, I have not yet practiced incremental updates with Weex, so I won’t discuss incremental updates here. Full updates are relatively simple: distribute the entire JSBundle, and the App loads it the next time it starts. Weex packages are much smaller than RN packages, generally around 100–200K. In one of Alibaba’s Weex sharing sessions, they mentioned that after gzip compression, they could reach 60–80K.
4. Extreme Optimization of First-Screen Load Time

The image above shows a challenge proposed by Alibaba at Weex Conf: the combined time of the network request plus first-screen rendering should be less than 1 second.
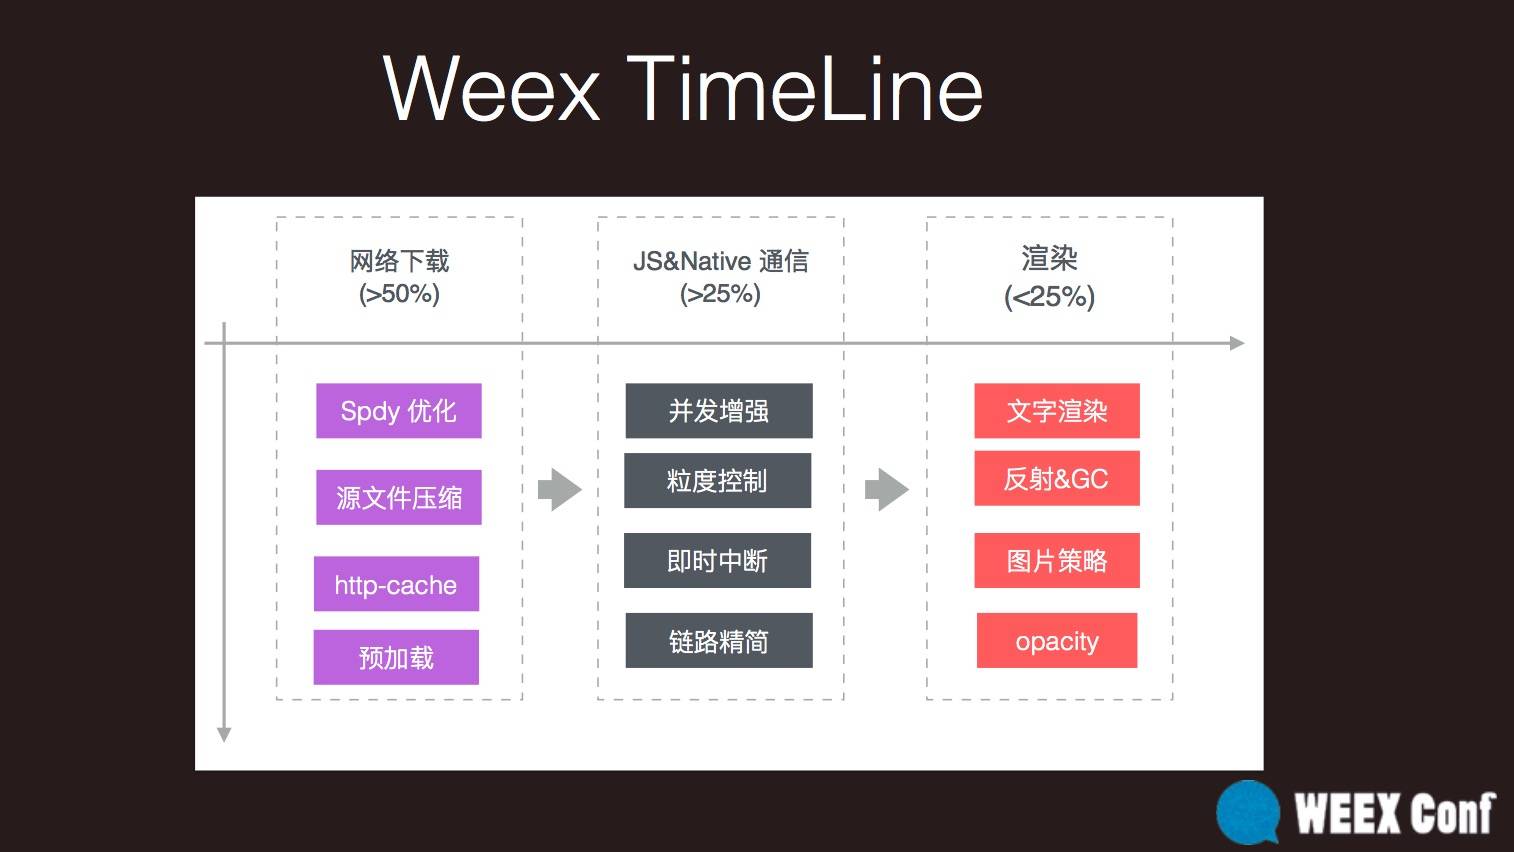
This involves three factors: network download time, JS-to-Native communication time, and rendering time.
Network download time can be optimized by supporting HTTP / 2, configuring the Spdy protocol, consolidating domains, supporting http-cache, aggressively compressing JSBundle size, and preloading JSBundle.
When preloading JSBundle, the App can download JS in advance when it starts. When the remote server pushes packages, it can do so through a persistent connection channel via Push. This can combine full / incremental updates with passive / forced updates.
Alibaba’s related optimizations for JS-to-Native communication time and rendering time are shown in the image above. I also do not have relevant hands-on practice in these two areas.
5. The Vue Ecosystem

Although Weex has its own ecosystem, after supporting Vue 2.0, its ecosystem can be completely replaced with the Vue ecosystem. Vue, Vue-Router, Vuex, and originally Vue-resource as well, but Evan You later removed Vue-resource and now recommends axios more. So the ecosystem consists of Vue, Vue-Router, Vuex, and axios.
If everything is replaced with Vue, then frontend first-screen rendering speed needs to be solved by Vue. To improve first-screen rendering speed, wns caching + direct output are indispensable. In the Vue 1. x era, there was no server-side-render solution, so direct output required writing a separate first-screen template that did not use Vue syntax. The release of Vue2.0 server-side-render (Vue SSR for short) successfully made frontend and backend rendering template code isomorphic.
If you only use Vue-Router, when packaging and building the application, the JSBundle package will become very large and affect page loading. If we can split the components corresponding to different routes into different code chunks, and only load the corresponding component when the route is accessed, it will be more efficient.
By combining Vue’s async components with Webpack’s code splitting feature, route component lazy loading can be easily implemented, reducing the size of the JSBundle.
One more point to note is that Vue-Router provides three operating modes:
hash : Uses the URL hash value for routing. This is the default mode.
history : Depends on the HTML5 History API and server configuration.
abstract: Supports all JavaScript runtime environments, such as server-side Node.js.
However, in a Weex environment, only abstract mode is supported!
Just 7 days ago, Vue released v2.3.0, with official SSR support. With SSR support, SEO can be significantly improved, and the first screen can load instantly. So for performance, SSR is a must!
IV. Advanced Techniques
Finally, to wrap up, here are some more “forward-looking” techniques.
1. Powerful JSService
JS Service and Weex instances run in parallel within the JS runtime. The lifecycle of a Weex instance can invoke the JS Service lifecycle. Currently, creation, refresh, and destruction lifecycle hooks are provided.
I didn’t find any related examples in the official Demo, but there are examples in the official documentation. The official manual includes this note:
Important reminder: JS Service is very powerful but also dangerous. Use it with care!
This shows how powerful it is; perhaps it can be used to do many “magical” things.
2. Weex May Have Bigger “Ambitions”
In the official manual’s “Extending the JS framework” section, it mentions that the JS framework can be extended horizontally. This is probably not something most companies would extend.
Weex aims to respect as many developers’ usage habits as possible. Therefore, in addition to Vue 2.0 officially supported by Weex, developers can also customize and horizontally extend their own or preferred JS Framework.
After customizing your own JS Framework, code like the following may appear:
import * as Vue from '...'
import * as React from '...'
import * as Angular from '...'
export default { Vue, React, Angular };
This can also be extended horizontally to support Vue, React, and Angular.
If the JS bundle includes a comment in the following format at the beginning of the file:
// { "framework": "Vue" }
...
In this way, the Weex JS engine can recognize that this JS bundle needs to be parsed using the Vue framework, and dispatch it to the Vue framework for processing.
Therefore, Weex supports multiple frameworks coexisting within a single mobile app, each parsing JS bundles based on different frameworks.
The ability to support multiple coexisting frameworks is very powerful. Of course, that’s not all—one more thing…
If you use the APIs normally, read the official documentation, and don’t look at the source code, you won’t find any trace of Rax. The official documentation doesn’t mention it at all.
What is Rax?

The article “Rax in Taobao’s Double Promotions” introduces Rax as follows:
Rax is a React-style, cross-container JS framework.
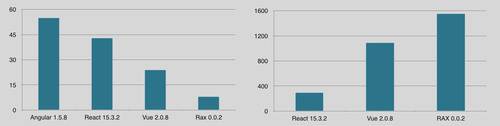
After gzip compression, Rax is 8 KB in size, making it lighter than Angular, React, and Vue. Compared with React’s 43.7 KB, it is much smaller.
Rax abstracts the concept of a Driver in its design to support rendering in different containers. For example, the currently supported Web, Weex, and Node.js are all based on the Driver concept. In the future, even if more containers emerge, such as VR and AR, Rax will be able to handle them with ease. Rax is designed to smooth over differences across platforms as much as possible, which means developers no longer need to spend too much effort dealing with differences and compatibility.
If technologies like RN and Weex are used for cross-platform development, then Rax is used for cross-container development: Browser, Weex, Node.js, and so on.
So what can adding Rax to Weex enable? It’s worth looking forward to!
GitHub Repo: Halfrost-Field
Follow: halfrost · GitHub
